beroCAPI
Requirement
The beroNet Gateway needs to have a firmware Version 2.3-sp3 or higher. Please find the newest beroNet Gateway firmware here:
Downloads
Download beroCAPI V5
You can download beroCAPI from our website:
https://www.beronet.com/gateway/beronet-capi/#download
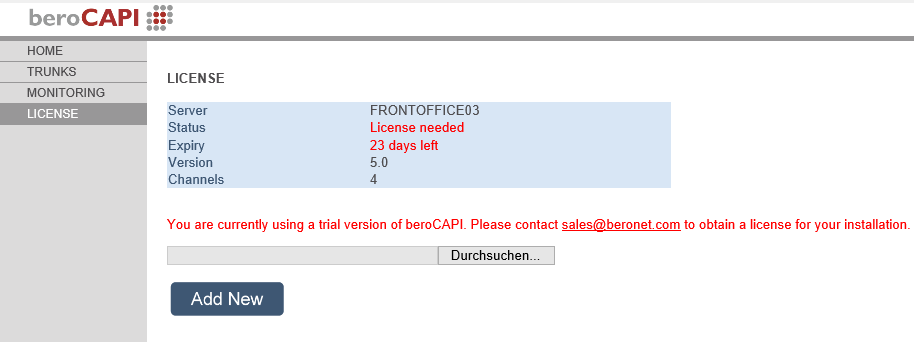
It includes a 30-day trail licence which you can use to test beroCAPI with your application before you have to order a license.
Installing beroCAPI V5
After download the beroCAPI, you can proceed and install beroCAPI.
During the installation process the beroCAPI installer will let you install the Fax Service Connector also. Customers who want to use beroCAPI together with the Windows Fax Service need to check this Box. 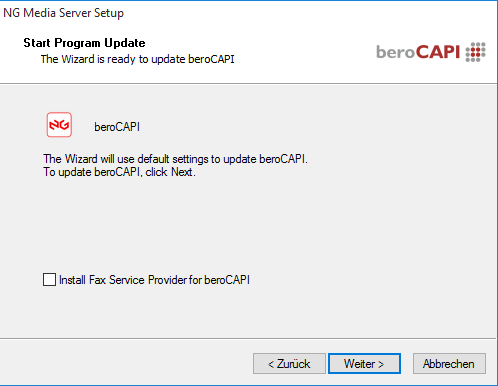
Configuration beroCAPI V5
After you have successfully installed the beroCAPI, you can go ahead and configure it.
Configuration of the beroCAPI Configuration of the beroNet VoIP Gateway
These steps will be described in detail in the following Chapters. After the install process the beroCAPI starts in the browser automatically
Enter the username and password which you selected in the install process. Please provide all relevant information like the serial numbers of your Gateways and Cards. Upload your license file.
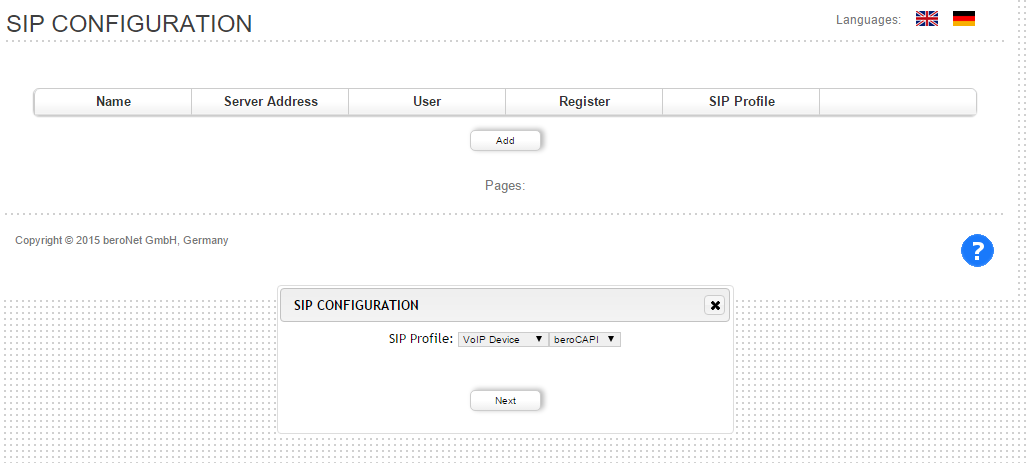
To configure the trunk you need the IP-address of your gateway. Write the IP-address in the Remote Address field and use berocapi for Name and Remote Authentication Name. The local address is the IP-address of the computer on which the beroCAPI is installed.

Configuration beroNet VoIP Gateway
After you have configured the SIP connectivity for the beroCAPI, go ahead and configure the beroNet gateway with according settings. First step you have to configure is the SIP trunk. Start your favorite web browser and login to the beroNet gateway (default user/password is admin/admin). Open the SIP+ Menu and under the SIP Menu you can add the berocapi SIP_Trunk.
Use the name "berocapi" for NAME and USER. Write the IP-address of the computer on which the beroCAPI is installed. Save the Settings.
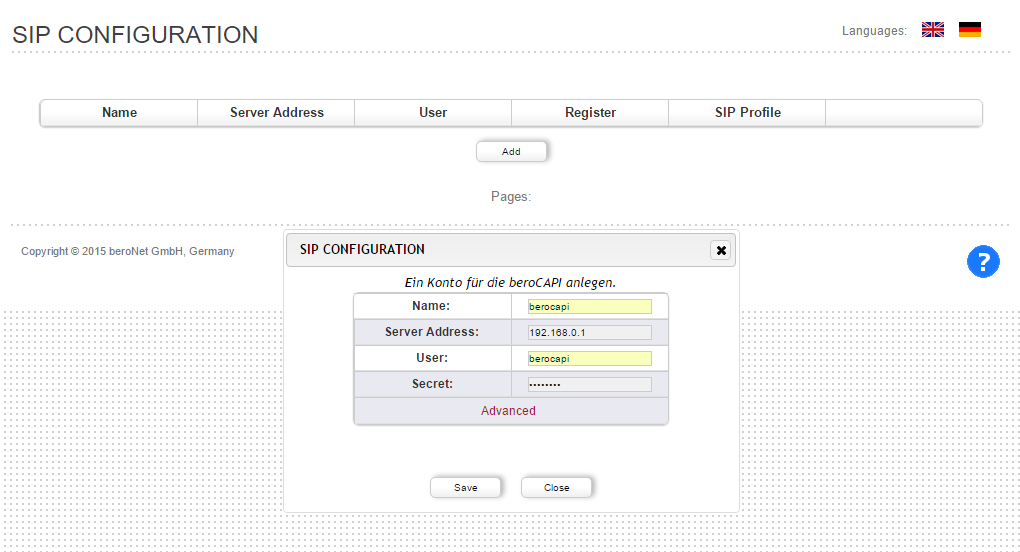
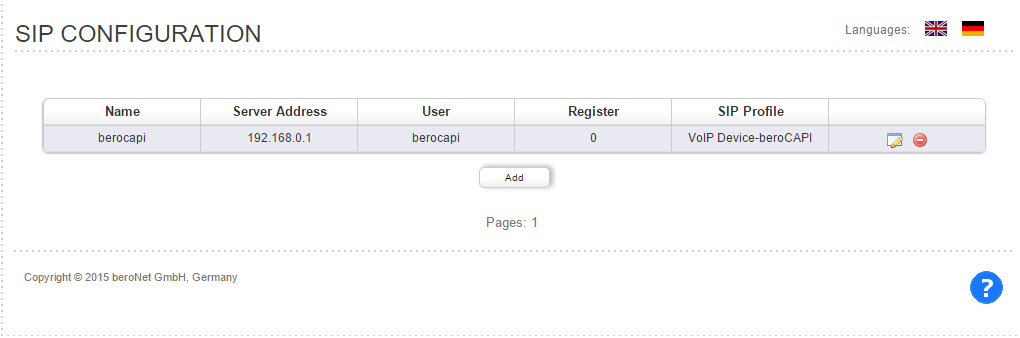
The SIP-Trunk has look like on the picture below now. Please note that you don't have register the SIP-Trunk.
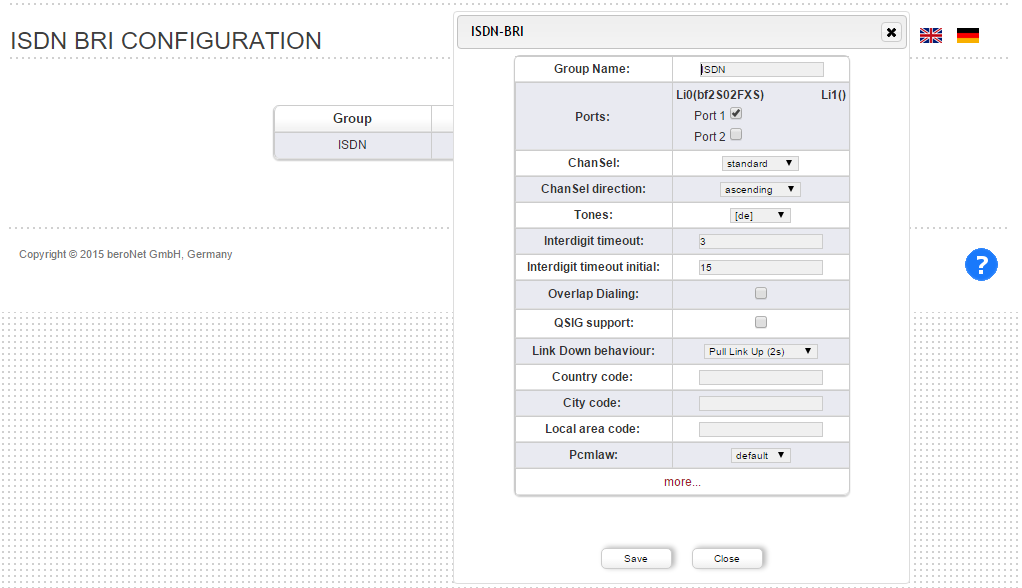
Now we have to create a port group. Define the port and press "save"
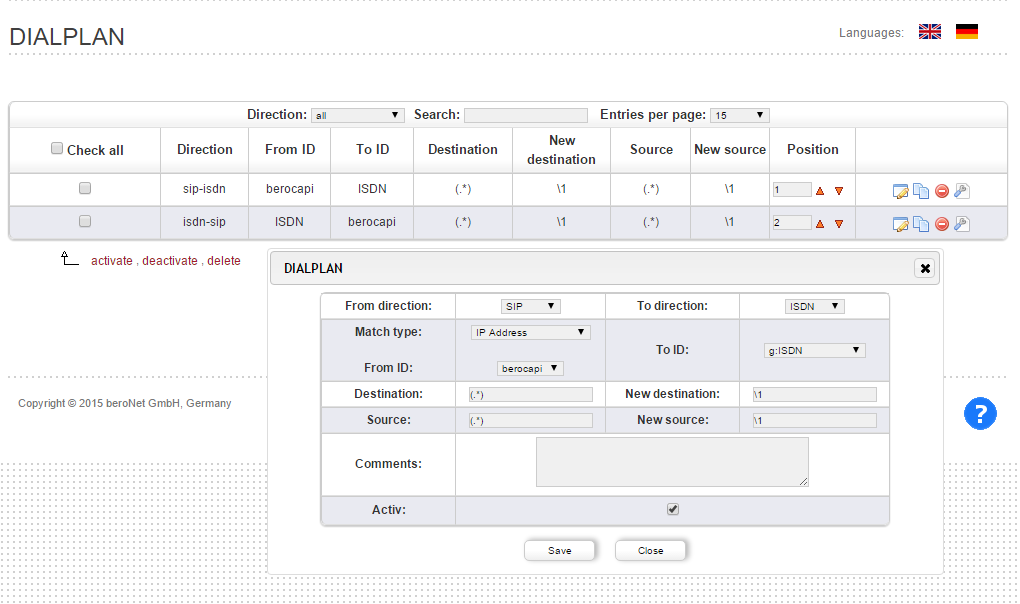
To connect the BeroCAPI with the ports of the gateway, a corresponding dial plan must be created.
Troubleshooting
In case that the beroCAPI doesn't communicate correctly with the gateway go in the default Media Profile configuration page.
Click on Trunks on the left menu, then click on Default under the Media Profile column or directly visit http://127.0.0.1:5080/ngms/media_profile/1.htm
Modify the configuration to look like below (in particular it looks like PCMA / PCMU / G729 / RTP-NTE / SIP-NOTIFY/INFO
Press <Apply> even if the settings were correctly set!

If you need scheduled remote assistance, you can request our on-demand support services: https://www.beronet.com/support