Choosing the USB stick
Requirements for the USB stick:
In order to install an ISO on the beroNet Appliance, you need to prepare a USB stick. It should have the following characteristics:
- 8 GB or more
- FAT32 formatted
Steps to boot the appliance from a USB stick
No matter which OS you wish to install on the appliance, follow these steps in order to boot from the USB stick:
- Plugin the recovery USB stick
- Hold F11 during boot to reach the Boot-Options menu
- Choose "General USB Flash DIsk" (do not choose UEFI)

Installation of Windows 10 on the appliance
Creation of the USB stick for windows 10
Microsoft offers a tool in order to install windows 10 on a server. You can download the tool and check how it works on this page: https://www.microsoft.com/en-us/software-download/windows10
Once you have download the tool, follow the installation process:
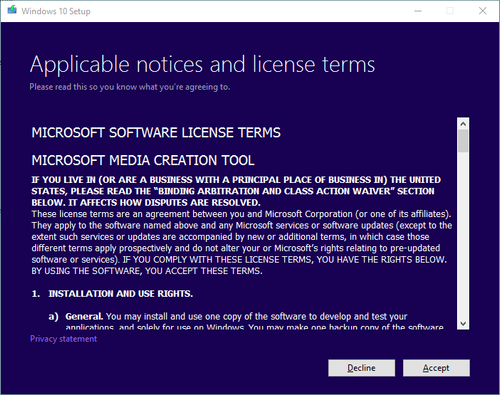
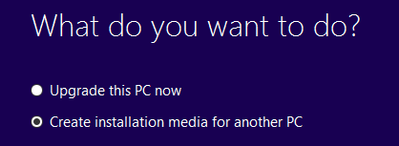
Accept the terms and conditions. On the window "What do you want to do", choose "Create installation media for another PC" and click "Next".
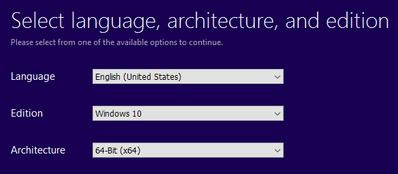
Choose the "64-bit (x64) architecture:
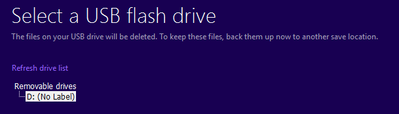
Choose "USB flash drive" as the media to use and select the one you want to use:
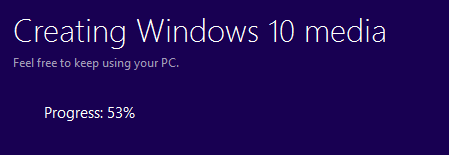
Let the tool do the magic. It can take a while as it needs to download windows and create the media on the USB stick
Once the process is done, click on "Finish". You can now plug the USB key to your appliance. See below for "installing OS on the appliance".
Windows BIOS settings
If your appliance gets stuck after rebooting, please check the bios setup. To do so, press F11 after starting the device and click on "Enter setup" in the screen below:
Make sure the following configuration is set:
1. Boot > Boot Option Priorities
P1: General USB Drive
P2: [UEFI] General USB Drive
P3: SSD
2. Boot > Setup Prompt Timeout = 3
3. Advanced > Restore Power AC Loss = ON
4. Advanced > USB Configuration > XHCI Mode = Enabled
5. Chipset > DVMT Total Gfx Mem = 128MB
Installation of windows 10 on the beroNet appliance
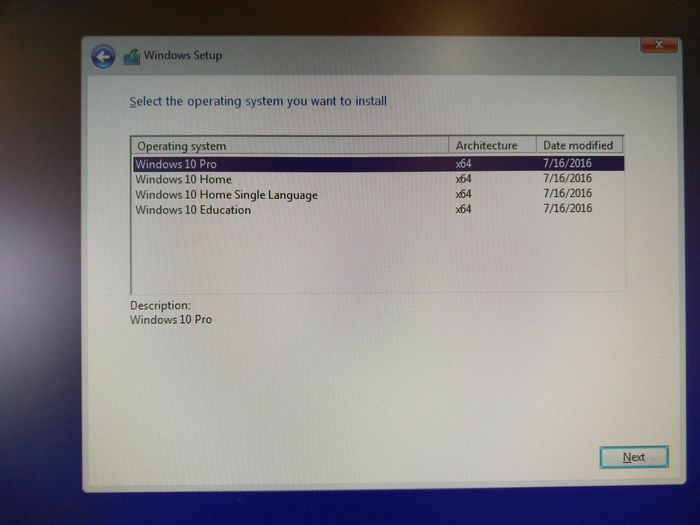
Once the USB stick is ready, plug it into the Appliance. You should also plug a screen and a keyboard to it. When you turn the appliance on, the installation of windows should proceed automatically. Choose the language you want to install the OS in and the keyboard layout.

We advise you to install windows 10 pro. If you wish to install 3CX, you must use windows 10 pro.
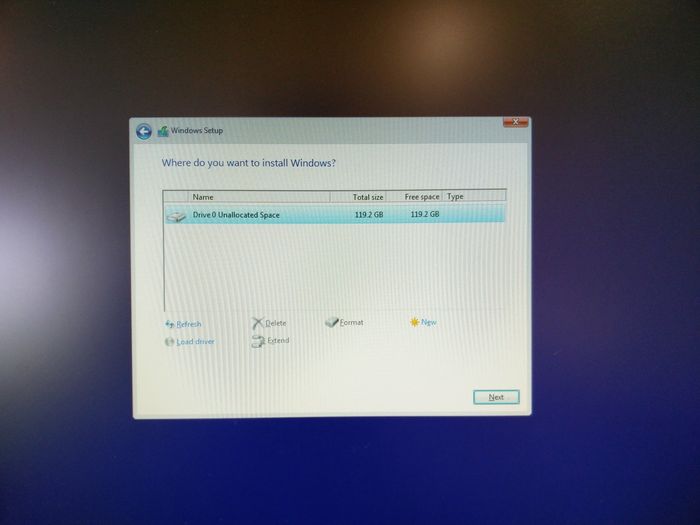
Windows will detect 4 partitions. Those partitions have been created by the beroNet hypervisor which is installed on the appliance. Delete them.

Once you have deleted the partitions, install windows on drive 0. On an M appliance you should have around 60 Gb of space. 120 GB on an L and 240 on the XL.
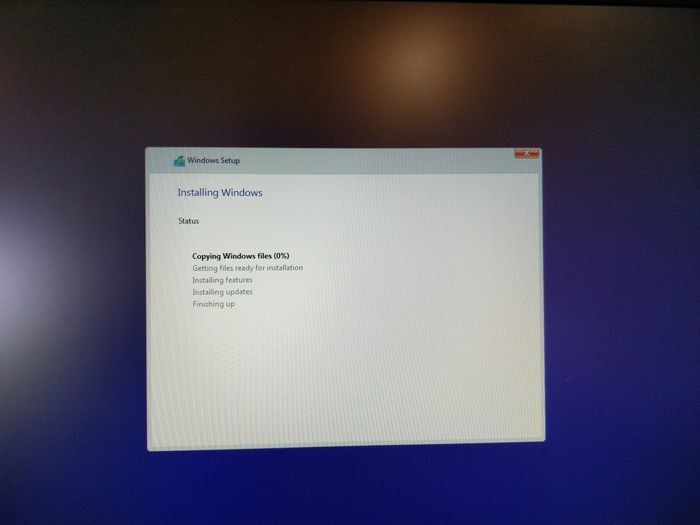
Click on "Next" and let the installation proceed.
Once it is finished, the appliance will reboot. After rebooting, it will try to boot from the USB stick again. In order to prevent windows for installing again, unplug the USB stick and let the appliance boot on its SSD.
Drivers for windows
Once windows is ready, we advise you to install a few drivers designed for beroNet hardware. You can find the list of drivers to install here: http://beronet.com/wp-content/uploads/downloads/appliance/BNTA2/MITX_6770/Driver/
Installation of another OS
Once you have formatted your USB stick, download the program "tuxboot" here.
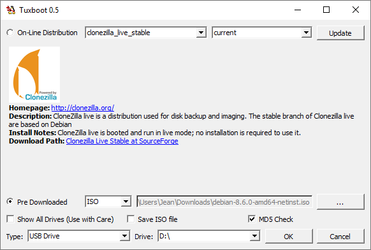
Once the program has been downloaded, simply start it. Choose the ISO file you wish to install, the drive and click on "ok".
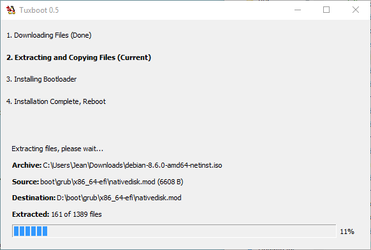
Let the process go. Click on "Exit" when the following screen appears:
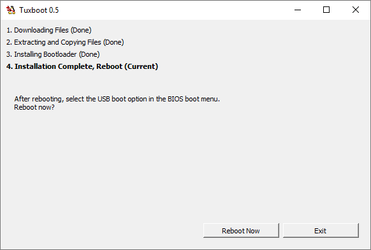
You can then plug the USB key in your appliance and boot from it. Once the boot process is finished, do not to unplug the USB key before the appliance reboots.
If you have issues using tuxboot, you can also use "Win32 disk Imager" available here: https://sourceforge.net/projects/win32diskimager/
If your Appliance has an integrated Gateway
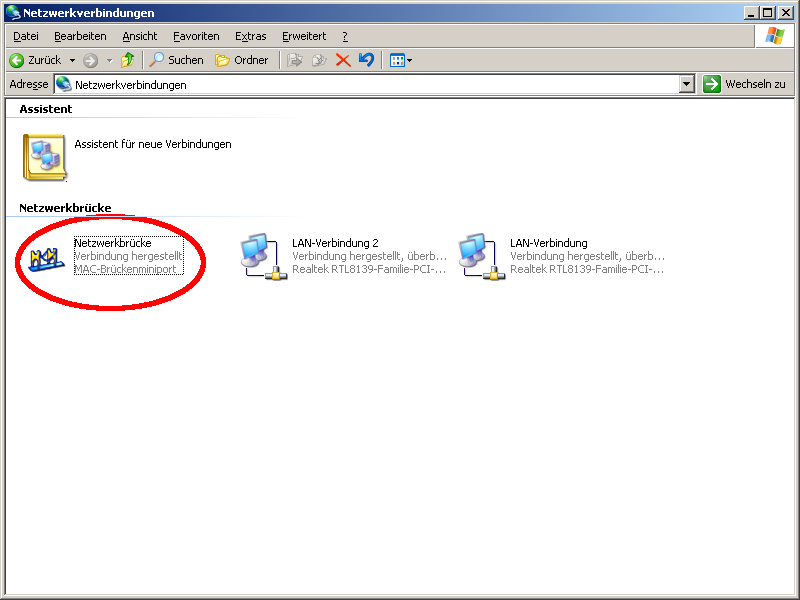
We recommend the use of a Windows network bridge. To use the Network Brigde under Windows based Systems (Windows SBS Versions don't seem to support Network Bridging) open "network connections" Window. As already seen in the chapter IP-Forwarding, you will see two Network controllers. Your standard Host Network Controller ("Local Area Network Connection 1") and the beroFix Network Controller ("Local Area Network Connection 2"). To create the Network Bridge please select both connections and click the right mouse button. The following context menu will appear:
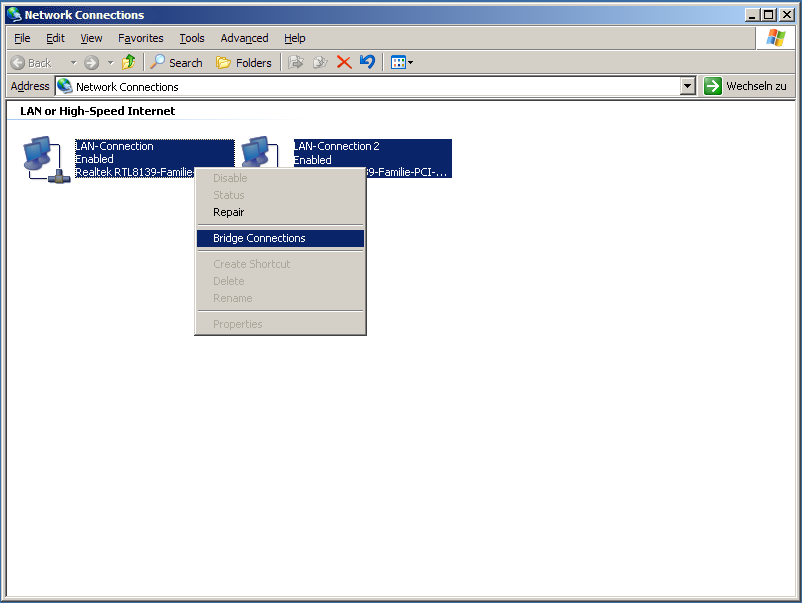
Click on "Bridge connections", after this a third Controller will appear, our Network Bridge:
As you might notice the network controllers don't have IP Address's any more. You can only assign an IP-Address to the bridge controller. By default the bridge is in DHCP mode. If you please mark the bridge, click the right mouse button, choose "Preferences" and configure an IP-Address. At that moment the network bridge is reachable throughout the LAN and you can therefore reach the beroFix web-interface. For example:
Let's assume your LAN is 172.20.0.0/255.255.0.0, your bridge got an IP 172.20.5.194 and you configured beroFix internal IP address to 172.20.70.11. Through the configured bridge, the beroFix device is reachable from the whole network now, if your firewall is not blocking it!