How to set up the Appliance 2.0
Introduction
The beroNet Appliance 2.0 is a telecommunication platform with an Intel Celeron Quad Core processor running a pre-installed hypervisor XEN. beroNet customers have the possibility to use the hypervisor to virtualize different operating systems enabling the single system to function as a complete communications hub.
The Appliance can also function as a hybrid device capable of pairing SIP with analog, digital and/or GSM technologies using a beroNet PCIe card.
1) About the hypervisor
The beroNet hypervisor is based on the XEN Project which is an open source hypervisor that allows multiple operating systems to run concurrently on the same hardware. We decided to implement this open source tool on our device to enhance the possibilities of the beroNet Telephony Appliance.
A. Accessing the hypervisor
Before switching on the appliance, connect it to the network. This is necessary so that the DHCP server will provide the system with a local IP address that can be detected by Windows UPnP. The following icon will then appear on another computer connected to the same network under “network devices”:
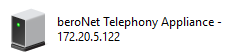
Double click this icon to open the web interface of the hypervisor.
Another way to find the IP address on the network is to use the beroNet tool: bfdetect.
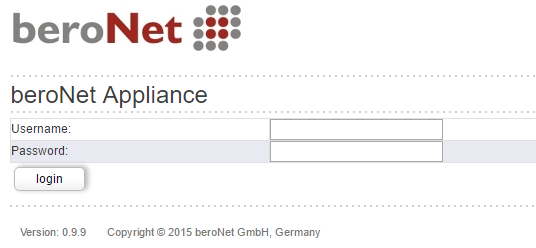
Login using default credentials of the hypervisor: “admin / beronet”. It is strongly recommended that you change the login credentials for your hypervisor after login.
B. Installing an application from the beroNet market
The beroNet market enables integrators to quickly and easily install a new application on the hypervisor. In order to access it, navigate to “market” in the drop down menu under “Virtual Machines+”.
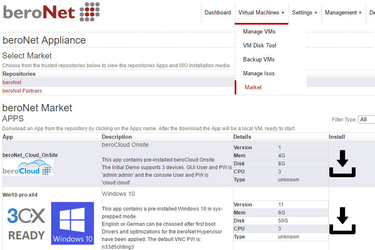
It is then possible to download a complete application from a secure source or only an ISO that will then need to be configured.
The beroNet market is due to evolve thanks to the different technology partners of beroNet, that will make their solutions available on it.
C. Manually install a new virtual machine in the hypervisor
To get started you need to first download an OS (a) and then create a VM(b).
a) Manually download ISOs
It is possible to manually download ISOs on the hypervisor by going to "manage ISOs" under "virtual machines+":
- file upload from your computer
- Web download from a URL
- Windows share download

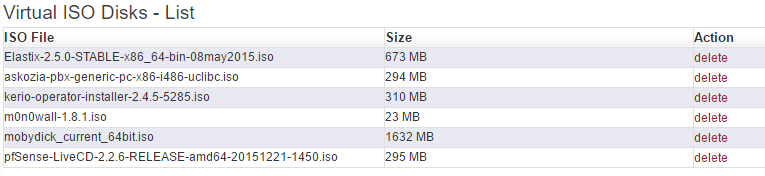
Once the ISO has been downloaded a list is available under the “virtual ISO Disks-List as shown below:
b) Create a new virtual machine
Under the tab “Virtual Machines+”, it is possible to manage the virtual machines of the hypervisor. In order to create a new one, navigate to the tab “Manage VMs” in the drop down menu.
To create a new VM:
- Give it a name (no spaces);
- Give it one, two or three CPUs;
- Choose how much RAM it should get depending on the size of the appliance (M has 4 GB, L has 8 and XL 16);
- Choose the size of SSD it will be allocated (M has 60 GB, L has 120 and XL 240);
- Choose the ISO file from which the OS has to boot;
- Choose the “Boot-Device”. It should be “d(isofile)” for the installation of the ISO and then “c(disk)” for its use;
- Choose the Network card it will use;
- Give it a “VNC-Display” from 6901 to 6905;
- For a windows installation, add the Windows tools by clicking the box “Windows Tools”.
c) Launch and configure your ISO
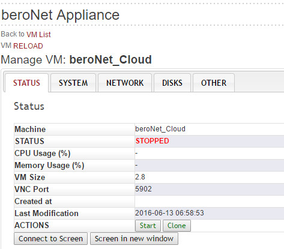
Once your OS has been created in the hypervisor, you can easily launch it from the “Dashboard” and start configuring it:
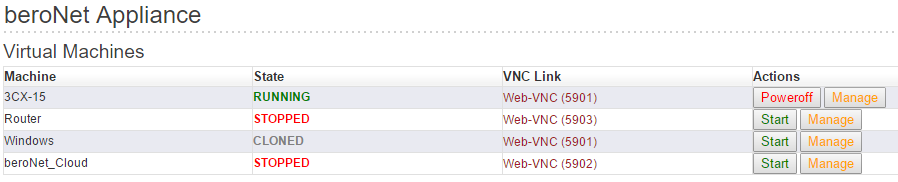
Once the VM has been started, click on the VNC link in order to access it. It opens a new tab with the OS launched in it. The password is “beronet”.
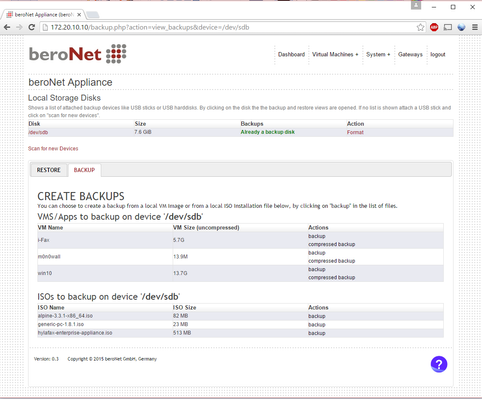
D. Creating a back-up of the hypervisor
In order to create a back-up of a VM, simply plug a formatted USB key in the appliance. Then navigate to “back up VMs” under “Virtual Machines+”.
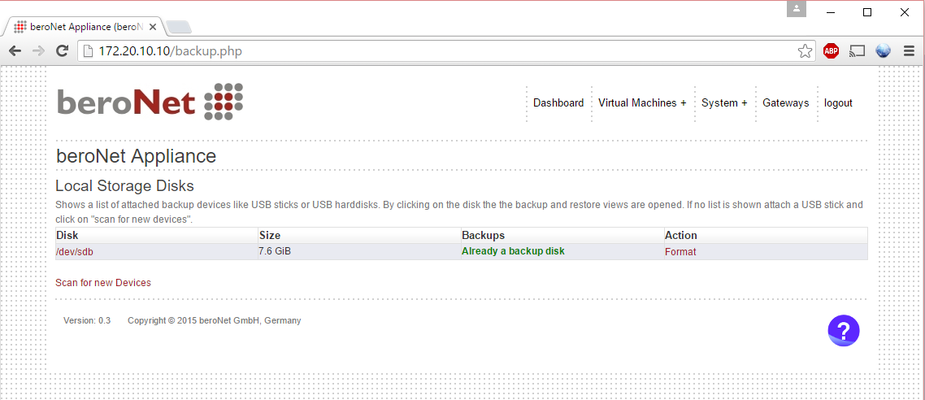
Click on “Make Backup Space” in order to save a backup on the stick. Once the process is over, simply click on the disk in order to see the different VMs that can be backed up.
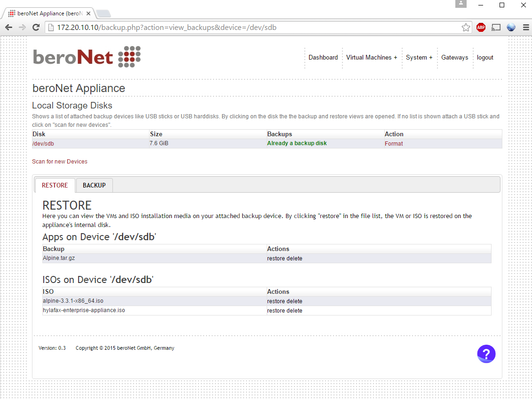
Click on “backup” in order to back up the virtual machine that you want.
Once the backup has been done, it is possible to restore the configuration by clicking on “restore”.
2) Recovery stick
beroNet users have the possibility to back-up their applications thanks to a back-up USB stick.
A. Creating a recovery USB stick
In order to create a recovery USB stick, please follow the instructions available on the beroNet wiki:
http://www.beronet.com/wp-content/uploads/downloads/appliance/BNTA2/recovery-stick/
B. Using the recovery stick
In order to boot the appliance on the stick:
- Connect the appliance to the network;
- Plug the recovery USB stick into the appliance;
- Start the appliance and let it boot on the USB stick;
- Once it has booted up, the appliance launcher can be found under “network”. The following icon should appear:
.png?version=1&modificationDate=1489485721686&cacheVersion=1&api=v2)
- Click on the “beroNet Appliance Installer” icon. Your favorite WEB-Browser opens. Three different images can be downloaded and installed: Windows, Asterisk or the beroNet Hypervisor.
The stick allows you to install the initial version of the hypervisor or install an OS directly on the appliance.
.png?version=1&modificationDate=1489485738755&cacheVersion=1&api=v2&width=349&height=250)
Once the hypervisor has been download, simply click on “install HyperVisor” to launch the installation
.png?version=1&modificationDate=1489485769805&cacheVersion=1&api=v2&width=533&height=250)
Once the installation is complete, the appliance shuts down.
The same procedure can be used for installing windows or Asterisk.
If you need scheduled remote assistance, you can request our on-demand support services: https://www.beronet.com/support